Did you know it can take a couple of hours to write a simple tutorial and get it all purty and easy to understand, and it only takes about 1 second to delete it? Yep, not that I know this from personal experience or anything. (AAAAAAAAAAAHHHHHHHHHHHHH!) Ahem, excuse me. Now that I got that out of my system. Let's try this again.
Last week I made a new chore chart for Michelle. She's quite the little helper around the house, but once in a while she needs a little guidance and motivation. Don't we all? In the past I had printed up a list, laminated it, and she used dry erase markers to check off her accomplishments as they were finished. Unfortunately, we didn't have a set place for it and it was always getting lost. It wasn't pretty either, and I find that with girls, pretty is usually a better motivator.
After quite a bit of internet searching and a couple hours of staring off into space, thinking and lots of digging through craft supplies, I came up with this.
 | |
| Sorry, photography is NOT my gift. |
I wish I could say that was all it took, but there was some manual labor and decision making in the process. Since this was to be Michelle's chart, I enlisted her help in the decision making. I showed her several options: pockets, tack board, magnets, dry erase, flaps, etc. She opted for a magnetic chart so my next job was to find something the magnets would stick to. Cookie sheet to the rescue! I found this lovely, rust covered beauty hiding in the bottom of my stove drawer and knew it would do the job perfectly. It even had a hole on one of the short sides to run some ribbon through for hanging it.

My idea was to have the chores listed on one side with a week's worth of squares next to it and for her to use magnets to "check" off the job, but she suggested having the magnets list her chores and she moved them to the "finished" area each day. Good idea, let's go with that one, it requires a lot less magnets. Then I needed something big enough to list the chores on, but small enough to fit on the cookie sheet. I found some chipboard circles that looked like they would work well.
Now I did this the hard way. I used Photo Shop to print colored circles in the right size with her chores listed on each one. Blue for her morning chores, pink for the evening ones, and brown for the weekly chores. I realized after doing this that I could have simply printed the chores onto colored paper with space between the words and then punched them out. I do happen to have a circle punch that is the same size as the chipboard circles. Stampin' Up is pretty good about making their products work like that.
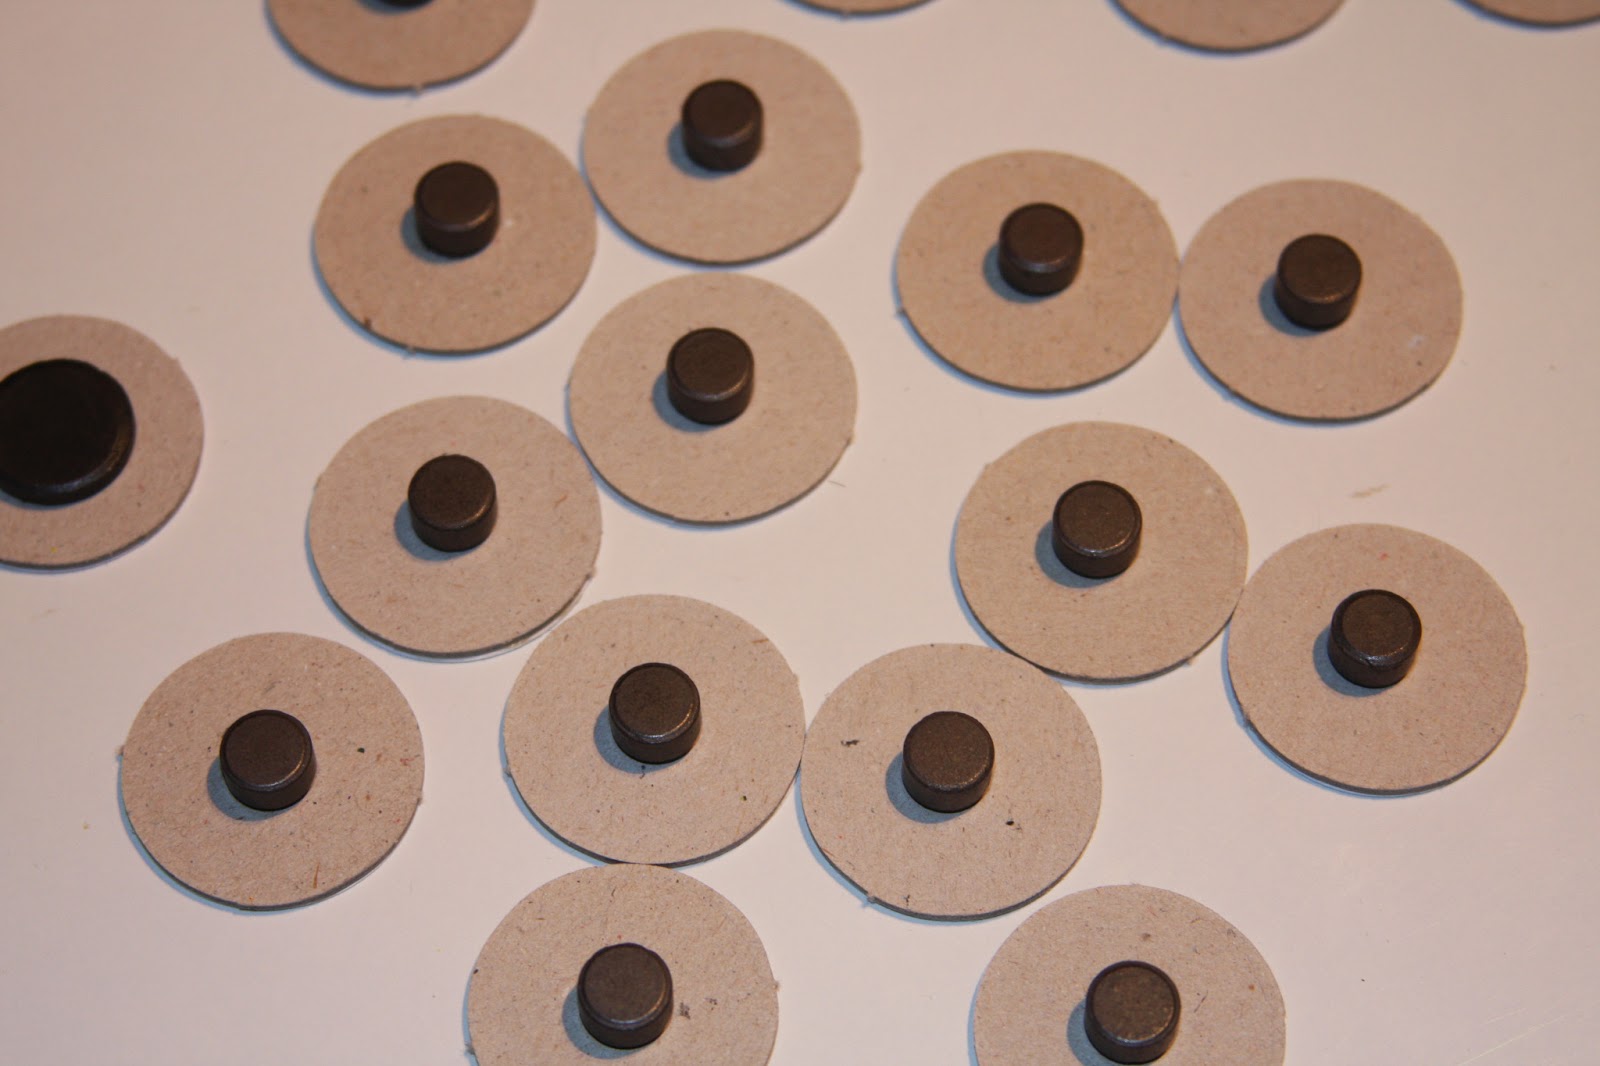
Anyway, after they were punched out, I glued them onto the chipboard circles.

I happened to have enough magnets left over from my stash of goodies from Japan, (well, almost enough) and they had adhesive already on one side. I simply peeled off the paper and stuck them down, but I'm sure you could find magnets here. Not sure what you would use to adhere them though. I used a glue dot for my one oddball and it seems to be holding. I would recommend not getting magnets that are super flat. The height helped me hold on to them for the next step and they make it easier to grab to move them around the chart.
The next step was to mod podge the tops and sides of the circles. Make sure you get the sides pretty good as that helps seal the paper on there. The cookie sheet worked as a great drying rack for me.

Now it was time to work on the cookie sheet. Once again I enlisted Michelle to help make decisions about color and placement. I used my wishblade/silhouette (more on that in another post) to cut out the letters and glued them down first. I used mod podge to glue all the paper down to the cookie sheet and to each other.

Once the mod podge was dry, I covered the whole thing with more mod podge. I was extra careful around the edges and tried to keep my brush going in the same direction. That kept the brush strokes down to a minimum. You can see some wrinkles in this photo, but they all disappeared once it dried.

In the first photo you can see a ribbon going across above the striped paper. I attached that with scor-tape after everything was dry. One thing I would recommend. Don't use this for at least 24 hours. We didn't wait that long and the magnets left little black marks on our striped paper the next morning. They don't leave any marks now so I think the mod podge just wasn't cured enough.
I did print out a couple of blank circles in case we forgot something, and Michelle realized the first night that I forgot about feeding Freddie, her fish. So, if you notice the two blank looking ones in the very first photo, they actually have FF printed on them, you just can't see it 'cause she used a ball point pen. I need to write it darker and then mod podge those.
Since we all like before and after photos:
 |
| rusty cookie sheet+paper and glue=super cute chore chart |
What do you think? I like it for a couple of reasons: it matches her personality and tastes, it looks nice in her room, I can see from a glance how she's doing on her chores since it's right inside her door, and it will be pretty easy to update it when her chores change.
Well, now that I've finished this tutorial (again), I am going to go work on my next project--a chore chart for me. Don't laugh. I have chores too, I like lists (especially checking things off of it), and I have some pretty new paper that would match my office just beautifully! No sense hiding it in a drawer. :o)
Till next time...
happy crafting and God's love and blessings!